Your Step-by-Step Guide to Catching Northern Lights After a Solar Flare
Introduction
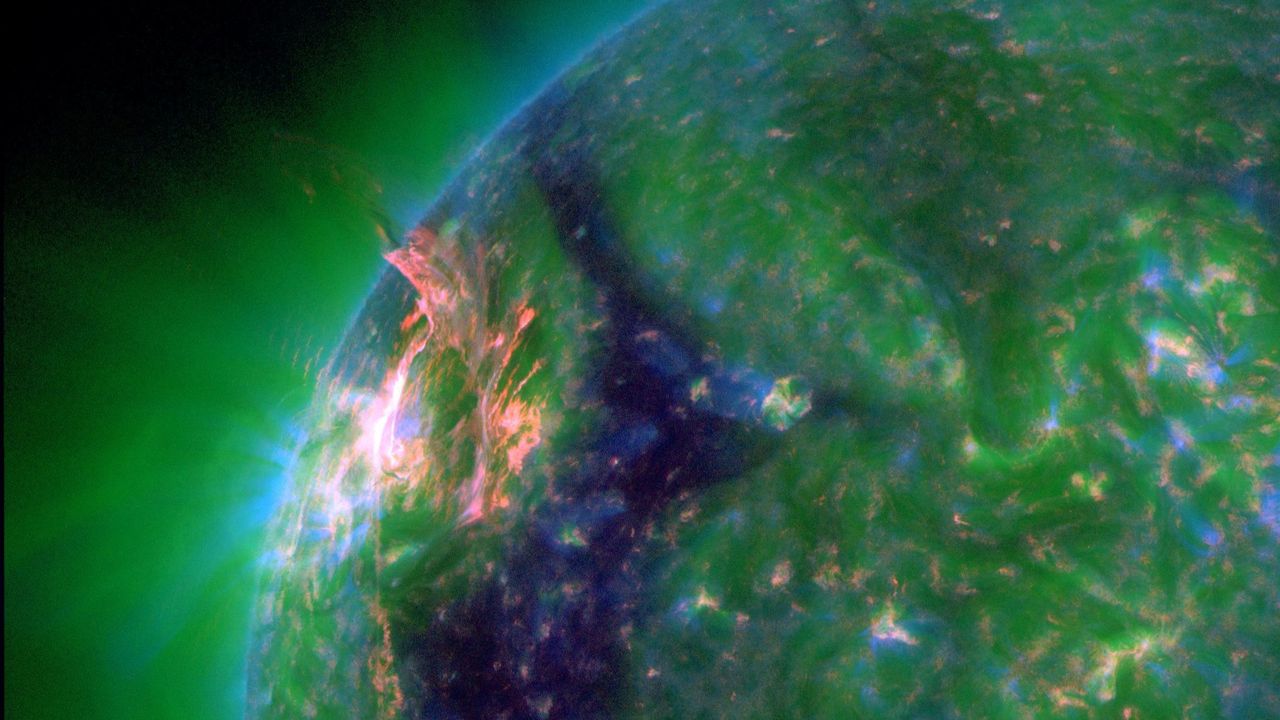
When the Sun erupts with a moderate M5.7 solar flare and sends a coronal mass ejection (CME) hurtling toward Earth, it’s not just a cosmic spectacle—it’s your chance to witness the breathtaking northern lights (aurora borealis). This guide walks you through turning that solar event into a personal aurora-hunting adventure. No need to be an astronomer; just follow these steps and you’ll be ready when the sky lights up.
What You Need
- Internet connection – to check space weather forecasts.
- Smartphone or computer – for real-time alerts and maps.
- Clear, dark sky location – away from city lights, with an unobstructed northern horizon (in the Northern Hemisphere) or southern horizon (in the Southern Hemisphere).
- Warm clothing – aurora watching often means standing still in cold weather.
- Optional camera equipment – DSLR or mirrorless camera with wide-angle lens, tripod, and remote shutter release for photos.
- Red-light flashlight – to see without ruining your night vision.
Step-by-Step Guide
Step 1: Confirm the Solar Event
First, verify that a solar flare and CME have occurred. Use trusted sources:
- Spaceweather.com – provides daily updates and emails.
- NOAA Space Weather Prediction Center – visit swpc.noaa.gov for official alerts.
- NASA’s Solar Dynamics Observatory – see real-time imagery.
Check for an M‑class flare (like the recent M5.7) or higher. A CME associated with the flare is key—it’s the cloud of magnetized plasma that triggers auroras when it hits Earth.
Step 2: Determine If the CME Is Earth‑Directed
Not all CMEs head our way. Look at coronagraph images (e.g., from SOHO or STEREO spacecraft). If a loop or halo appears around the Sun in those images, the CME is coming toward Earth. Also check NOAA’s CME arrival time estimates—they give a rough window of 1–3 days after the eruption.
Step 3: Monitor the Kp Index Forecast
The Kp index measures geomagnetic activity on a scale of 0 to 9. For northern lights visible at mid‑latitudes, Kp 5 or higher is often needed. Visit:
- NOAA 3‑Day Geomagnetic Forecast – see the predicted Kp values.
- Aurora forecast apps (e.g., My Aurora Forecast, AuroraNow) – get push notifications.
A forecasted Kp of 6+ almost guarantees a show if your skies are clear.
Step 4: Assess Viewing Conditions at Your Location
Use a forecast tool specific to your area:
- Aurora viewing probability maps – show how far south (or north) the aurora might reach.
- Local weather forecast – check cloud cover; you need a clear sky.
- Light pollution map (e.g., LightPollutionMap.info) – find a dark site near you.
Step 5: Choose the Best Time to Watch
Auroras usually peak around midnight local time (10 p.m. to 2 a.m.). However, the exact timing depends on the CME’s arrival. Set up alerts from apps or watch for sudden changes in the Kp index—sometimes auroras flare up unexpectedly for 15–30 minutes.

Step 6: Prepare Your Viewing Spot
Arrive at least 30 minutes before prime time to let your eyes dark-adapt. Turn off all white lights. Use the red flashlight to read your equipment. Point yourself toward the magnetic pole (north in the Northern Hemisphere, south in the Southern Hemisphere). The aurora often appears as a green arc low on the horizon at first, then may rise and dance.
Step 7: Capture the Moment (Optional)
If you want photos:
- Mount your camera on a tripod.
- Set aperture wide (f/2.8 or lower), ISO 800–3200, and shutter speed 5–15 seconds.
- Use a remote shutter or 2‑second timer to avoid shake.
- Focus manually on a bright star (set lens to infinity).
- Experiment—review your shots and adjust.
To enjoy with your naked eyes, just put the camera down and soak it in.
Step 8: Enjoy and Stay Safe
Aurora watching can be physically demanding: stay warm and hydrated. If you’re in a remote area, tell someone where you are. Be patient—sometimes the aurora is subtle and then suddenly erupts.
Tips for Success
- Join aurora alert groups – Facebook groups or apps provide real‑time reports from fellow watchers.
- Check space weather often – conditions can change rapidly. Re‑check the Kp index an hour before you head out.
- Use a moon phase calendar – a bright moon washes out the aurora; new moon is ideal.
- Don’t forget patience – even with a strong CME, clouds or timing can spoil the show. Try again next time.
- Spread the word – the recent M5.7 flare might already be heading our way; share this guide with friends!
Now you’re ready. The Sun did its part—go enjoy the show.
Related Articles
- Privacy Advocates Condemn SECURE Data Act as Weak Federal Bill That Would Gut State Protections
- Exclusive Deal: Yozma IN 10 Electric Mini Dirt Bike Hits Record Low $999; EcoFlow and Anker Deals Follow
- Mastering Strategic Acquisitions: Lessons from Tim Cook's Apple
- How V8 Achieved a 2.5x Speedup by Rethinking Heap Number Storage
- How to Harness Google’s Latest TPUs for Agent Training and State-of-the-Art Models
- How the EU Is Defending Its Economy Against Fossil-Fuel Price Shocks Triggered by the Iran War
- Greenlane Expands Heavy-Duty EV Charging Into Texas, Targets I-10 Freight Corridor
- 10 Key Milestones in Kia’s Electric Vehicle Surge—From the EV9 to the Upcoming EV3