Build Your Own Privacy-First Smart Doorbell with a Local AI Assistant
Introduction
Imagine your video doorbell not only catching deliveries but also having a natural conversation with visitors—all without sending a single frame to the cloud. That's the promise of combining a local-processing camera with a large language model (LLM) running on your own hardware. In this guide, we'll walk through how I ditched my cloud-dependent Ring doorbell for a Reolink model and hooked it up to a local LLM to recreate (and improve upon) those AI visitor interactions. You'll end up with a smart doorbell that respects your privacy, works even without internet, and can be customized to your exact greeting style.

What You Need
- A local-processing video doorbell (e.g., Reolink Wi-Fi Doorbell, PoE model, or any doorbell with a local API and RTSP stream support)
- A computer or single-board computer (Raspberry Pi 4/5, NUC, or a spare PC) with at least 8GB RAM and a decent GPU if you want real-time LLM responses (CPU-only works but will be slower)
- Local LLM software (e.g., Ollama, LM Studio, or llama.cpp) and a model of your choice (Mistral, Llama 3, Phi-3.5, etc.)
- Home automation platform (Home Assistant or Node-RED) to bridge the doorbell and LLM
- Network connectivity (Ethernet preferred for reliability; Wi-Fi may introduce latency)
- Basic understanding of command line, APIs, and YAML configuration
- Optional: A text-to-speech engine (like Piper TTS or eSpeak) for the doorbell to speak back
Step 1: Install and Configure Your Local-Processing Doorbell
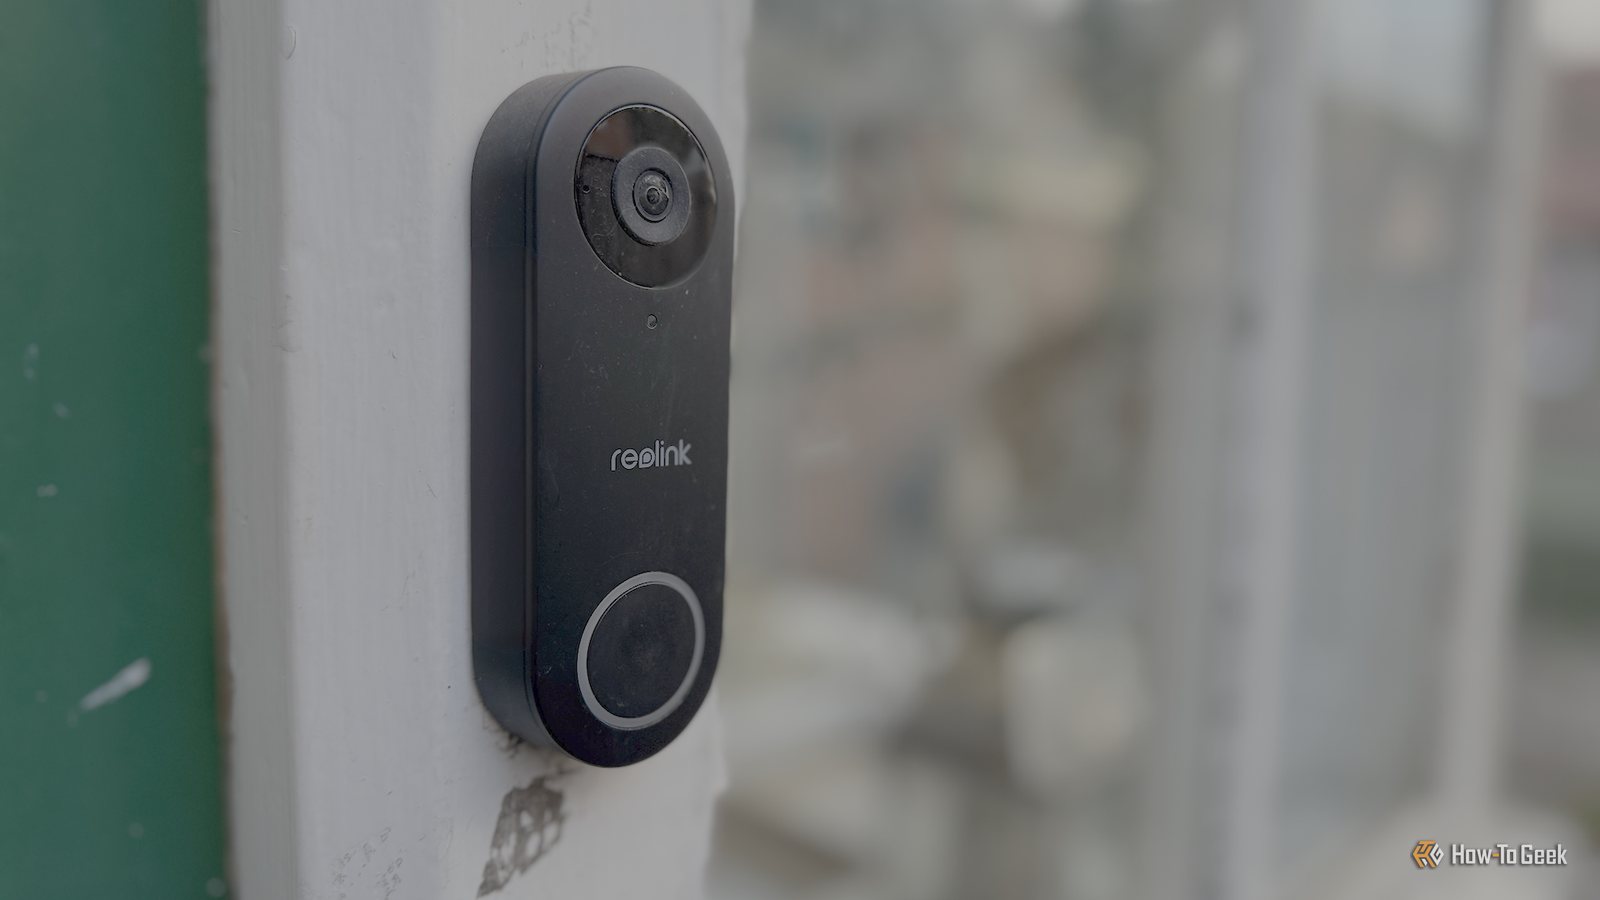
If you're coming from a cloud doorbell (like Ring), the first step is to remove it and install a model that keeps everything local. I chose the Reolink Video Doorbell (Wi-Fi version) because it offers an open API, RTSP video stream, and does not require a cloud subscription. Mount it according to the manufacturer's instructions, connect it to your network, and ensure it gets an IP address (set a static DHCP reservation in your router). Access the doorbell's web interface to disable cloud features and enable ONVIF or RTSP. Also, note the doorbell's IP, username, and password—you'll need them for integrations.
Step 2: Set Up Your Local LLM Server
On your dedicated computer, install an LLM runtime. I recommend Ollama for its simplicity: download it from ollama.com, run the installer, and then pull a model suited for conversation. For a balance of speed and quality, try ollama pull mistral or ollama pull phi3:latest. Once the model is downloaded, start the server with ollama serve (it runs on localhost:11434 by default). Test it by sending a POST request to http://localhost:11434/api/generate with a simple prompt. If you want the doorbell to talk back, also install a local TTS engine like Piper (Home Assistant add-on) or eSpeak.
Step 3: Bridge the Doorbell and LLM with Home Assistant
Now we need to connect the doorbell's events (motion, button press) to the LLM. I use Home Assistant with the Reolink integration (available via HACS or built-in). Install the integration, add your doorbell using its IP and credentials, and you'll get sensors for motion and doorbell ring. Also, set up a camera entity from the RTSP stream to capture snapshots when triggered.
For the logic, create an automation in Home Assistant YAML:
automation:
  - alias: "Doorbell Pressed - Ask LLM"
    trigger:
      - platform: state
        entity_id: binary_sensor.doorbell_button
        to: 'on'
    action:
      - service: camera.snapshot
        target:
          entity_id: camera.reolink_doorbell
        data:
          filename: /config/www/snapshot.jpg
      - delay: '00:00:01'
      - service: rest_command.llm_greet
        data:
          prompt: "A visitor just rang. Here's a snapshot encoded in base64: {{ snapshot_base64 }}. Respond with a friendly greeting and ask how you can help."
You'll also need to create a REST command (under rest_command:) that calls Ollama's API. Use the template to send the snapshot as base64 if your LLM supports image understanding (like LLaVA or GPT-4V locally); otherwise, you can omit the image and just send the doorbell event text. Ollama's API expects JSON: { "model": "llava", "prompt": "...", "stream": false }. Capture the response and send it to a TTS or display it on a screen.
Step 4: Create the AI Greeting and Response Flow
Here's where you tailor the experience. Write a system prompt that sets the LLM's role: "You are a helpful, friendly doorbell assistant. Your name is DoorBot. Keep responses under 30 words." In the automation, include the snapshot description (if using a vision model) or just the fact that someone rang. The LLM's text response can be spoken out loud via a speaker near the doorbell (using Home Assistant media player or a separate speaker with TTS). Optionally, you can allow two-way interaction by using a microphone near the door and piping speech-to-text (e.g., Whisper locally) back into the LLM for conversation. That's more advanced, but the foundation is the same.
Step 5: Test, Tweak, and Go Live
Press your doorbell button. The automation should trigger, a snapshot is taken, the LLM generates a greeting, and you hear it (if TTS is set up) or see it in Home Assistant log. Expect initial latency: an LLM running on CPU might take 5-10 seconds; with GPU acceleration, under 2 seconds. To improve, consider prompt caching or using a smaller quantized model (e.g., Phi-3-mini-4k-instruct q4_K_M). If responses are off, adjust the system prompt or feed more context (time of day, weather via Home Assistant sensors). Once it works reliably, you can disable your cloud doorbell and enjoy complete privacy.
Tips for Success
- Start simple: Get the doorbell and Home Assistant working together before adding the LLM. Verify that motion/ring events trigger automations.
- Optimize latency: Use a model that fits your hardware. For a Raspberry Pi,
phi3:miniworks well; for a desktop, trymistralorllama3:8b. Consider using a separate machine for the LLM if your doorbell station is underpowered. - Privacy by design: No data leaves your network. Keep the doorbell's firmware updated but refrain from connecting it to any external cloud account.
- Handle errors gracefully: If the LLM fails to respond (e.g., API timeout), have a fallback message like "Hello, someone will be with you shortly."
- Expand with voice: Add a two-way audio setup using a local SIP intercom or an ESP32 with a microphone and speaker to have full conversations.
- Monitor resource usage: The LLM server can use 4-8GB RAM. If you have a home server, run it in a Docker container for easy management.
Related Articles
- 7B AI Model Outperforms GPT-5 and Claude by Orchestrating Rival LLMs with Reinforcement Learning
- MIT's SEAL Framework: How Language Models Learn to Improve Themselves
- AWS Unveils Next-Gen AI Agents and Expands OpenAI Partnership at April 28 Event
- Pydantic AI Unveils Breakthrough in Type-Safe LLM Agent Development
- Anthropic Unveils Breakthrough AI Translation Tool: Claude's 'Thoughts' Now Readable in Plain English
- Uncovering Rust's Persistent Challenges: Insights from Extensive Community Interviews
- What You Need to Know About Elon Musk confirms xAI used OpenAI’s models to ...
- 6 Key Insights from the UK AI Security Institute's GPT-5.5 Vulnerability Assessment